

Redirects in AWS CloudFront

If you’ve ever set up redirect rules in S3, you’ll find that it’s a fairly straightforward process. You set up a new bucket, enable website hosting and create some redirect rules. But if you tie in S3 with CloudFront, you’ll soon find out that all the redirect rules you just made won’t work. Not out of the box anyway.
In this article, I’m going to walk you through setting up a redirect rule in S3 and have it work with CloudFront. If you’ve never set up redirect rules in S3, not to worry. This article is for you!
Setting up a bucket
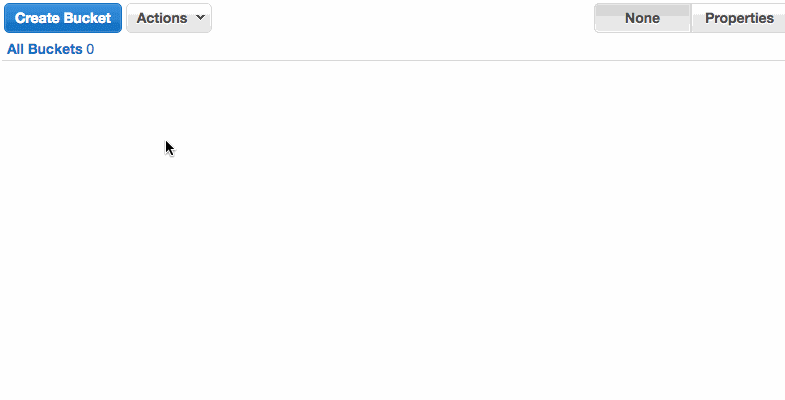
First we need to jump into S3 and create a bucket. By clicking the Create Bucket button, a modal will appear. You can then enter in your domain name for the bucket name, select a region of where your server will be, and then click Create.
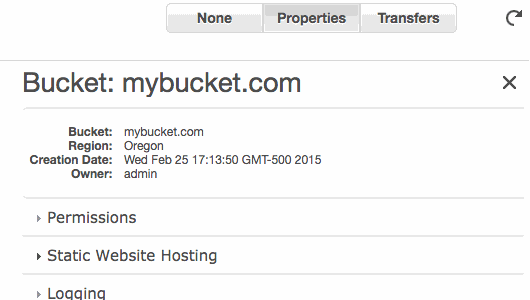
Next we need to select the bucket we just created, and look over under the properties tab on the right. Under the accordion of settings, expand Static Website Hosting and click enable website hosting. Here you can specify an index document, error document, and redirection rules.
The textarea under Edit Redirection Rules allows you to specify redirects based on AWS’s XML-like syntax. In the animated gif above, you will see we have a KeyPrefixEquals set to wally and a HostName set to goguardian.com. When someone visits mybucket.com/wally, they will be redirected to goguardian.com. Pretty cool right?
Note the bucket’s Endpoint in the gif above. We will need this in our next steps.
In comes CloudFront
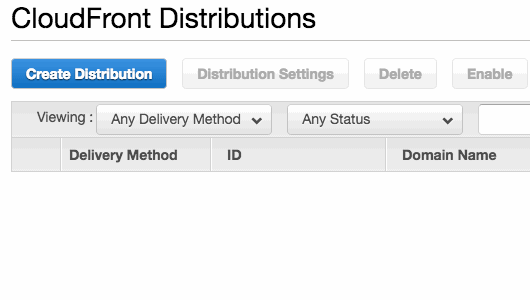
Head over to AWS CloudFront and click the shiny blue Create Distribution button. This is where the magic happens. You’ll be prompted with two options to create a Web or RTMP distribution. Click Web.
The main setting you want to pay attention to here is the Origin Domain Name. Remember that S3 bucket Endpoint you took note of? We need to use that here instead of selecting the bucket from CloudFront’s autocomplete dropdown. You normally see the dropdown when you click inside the Origin Domain Name field.
If you’d like to use a custom domain that you have set up in Route53, you can specify it in the Alternate Domain Names field under Distribution Settings. Once complete, specify the Default Root Object to match your bucket’s Index Document and you’re all set!
The rest of your CloudFront settings are totally up to you in terms of your requirements. There are lots of different configuration options to choose from.
You can now click Create Distribution and watch your deployment happen.
Back in the list of your CloudFront Distributions, you’ll notice your newly created distribution is In Progress. This usually takes a few moments. But once it’s finished, you can copy the uniquely created Domain Name (eg: abcdefghijklmop.cloudfrent.net) and use this in Route53.
En route to Route53
Over in Route53 under your hosted zone for mybucket.com, you want to create a record. Click the Create Record Set button and you’ll see options appear on the right.
For your record set you can leave the name field blank if you want to use the root level of your domain. In our case it’s mybucket.com. Select the yes radio button for Alias and in the target field you want to paste your uniquely generated CloudFront domain we copied earlier. Before you click Create you need to make sure your distribution has a status of deployed.

Once created, allow some time for your DNS settings to propagate. You can now test out your redirect at mybucket.com/wally and watch it redirect to goguardian.com using CloudFront and S3 redirection rules.
For more redirection rule configuration samples, feel free to check out AWS’s documentation.
Be sure to stay tuned for more AWS tips and tutorials.
Brett Hayes
Jump to Section


Bring the power of GoGuardian to your school or district today.